 Hi girls, Hope
 when I proposed to participate in this project, I said yes without thinking twice, and I was thrilled to be part of it ... as Marian says (Zulu), internet is good and bad, and this is of very good. For those who do not know, (will be few ... I'm sure), Hope, and Marisa and compis Carolina, decided one day I wanted a sampler (sampler patchwork techniques), so as to not want the thing, they set to work y. .. the best thing is generously decided to share it with anyone who wanted to become one.
And this is my small contribution. I hope to serve you heart and you learn the technique of "applied" and I fell in love as much as me. Important comment that the design of the block is Marian (Zulu).
Well ... worth a roll ... So
that .... to work ...
First of all, know that the technique I will explain is used to make the Baltimore Classic. I advise you to first read the entire tutorial, and then start. Not cut the fabric that is sewn behind the pieces and go for giving volume at our Baltimore.
First ... see MATERIALS
For Baltimore, I applied, applied fabric .... (Next to be all the same), we need some basic materials. Like everything else, you can use materials you have at home, or you can be more demanding and using more recommended. With both types you can make this application ... see pros and cons ... and you decide ...:
 - THREADS: The fabric used for applied are the finest ... the silk because they are so fine can not see the stitches. Top ... YLI brand. Another advantage of these threads is that a color of yarn can serve for multiple fabric colors are hidden as well from the web. You can also use you have in home sewing machine. FUNDAMENTAL: Must be the same color as the fabric, to not notice the stitch. You know, so many colors of threads and fabrics to apply.
 - SCISSORS: one for paper, and other fine tip to fabric.
- NEEDLES: the finest, if you appliqué ... perfect!
- glue sticks: it is not necessary, but will help control the fabric in some areas. You will be worth special glue stick fabric and bar will be worth the school. To use it, not into the whole fabric glue, you just have to scratch a bit with the tip of the needle, and place it on the fabric you want to make it "in place." Use it only in case of emergency.
- PENCIL DRAWING: You will need a # 2, drawing and others to draw the fabric. All must be very sharp so that the lines are fine.
can use the # 2 to draw the pattern on paper and drawing the same patterns in fabric, but in this case, uncheck long strokes on canvas, as these should be smooth.
If you decide to use fabric markers (we recommend), foresees marking dark fabrics white pencil, and the lighter color with another, but always gentle strokes. PROHIBITED draw on fabric with pen or marker.
- PINS: need large (with 2 or 3 worth), and small to hold the pieces of fabric and will not interfere when sewing.
- PAPER PLANT: it will also foil.
Once we have the printed pattern, we will put up a sheet of tracing paper and trace the picture with the # 2 pencil.
 So we have, first leaf plant that will help us put the pieces of fabric in exact site and also the printout that use it to cut patterns. You will cut each piece
 : leaf, stem, vase, flowers .... taking into account that (flowers, pot ...) are also different parts, ie ... the flower is composed of two circles and a star, the pot also has a border, the whole pot and the 4 tabs ...
When you have all cut patterns, it is time to draw on the fabrics. You should always draw the right of the canvas and looking to make a thin line.
 Then cut out each piece leaving a seam allowance around 3 mm, no more is needed. Iron
 While the base cloth, and placed above the sheet plant with drawing the pattern, place it in the center and hold it with a pair of large pins on the top, so you can lift it to place the fabric.
 The first pieces will place the stems are short. In its place the sliding easily under the paper. Hold it with small pins. I'll tell you a trick to not move the pieces of fabric: you should always fasten with 2 pins, and will not move or rotate, which itself only happen if you put a pin.
 It's time to sewing. To do this we "THE HIDDEN STITCH."
 So ... fucks the needle, threading the thread the same color as the stem ... and follow the steps ...
1 - stick the needle from back to front, right in line drawing ... and took the needle ...
 2 - Now fold the fabric in the line drawing in, the line is trying a little inwards, avoiding display. ALWAYS stick the needle slightly to the right and below where the wire goes, and we took a couple of millimeters in front and ALWAYS just bending the fabric
  3 - and continue to advance until we finish.
  IMPORTANT: When you have internal curves, should take a few small cuts on the seam allowance (without reaching beyond the line of the drawing) so that the fabric does not "pull" to turn and you can sew with ease.
  cosamos Once the stems short, we will place the largest stem ALWAYS using the parchment.
  Once sewn, we will put in place large circles of flowers.
  Once sewn, now will place the small circle
 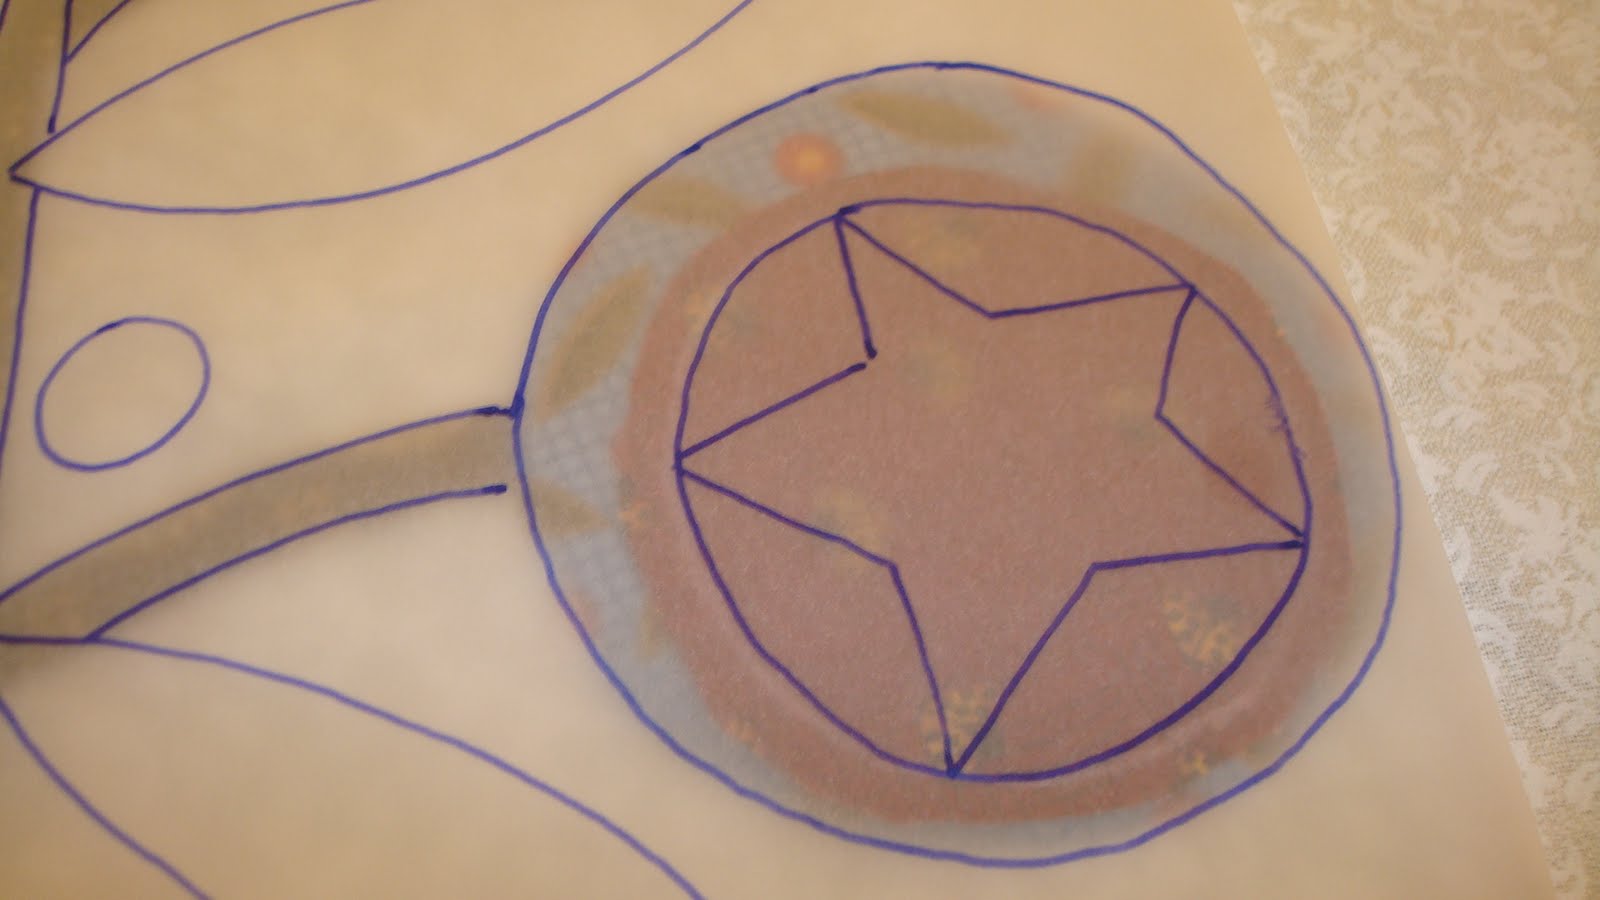 Once sewn into position
 star
 To sew the star must pay attention to the peaks and angles "enter" on the star. In the latter give a little "cortadita"
  We should note that both the ends and in the inner corners of the star, we must give an extra stitch to secure the seam and make it better.

So proceed with the three-star Flores
 now continue putting in place (with the help of tracing paper), the pot. The ONLY sew the base, we will not sew, so far, the sides and top.
  We put in place the tabs, two by two. Sew first left inside, and then left in the bank, leaving sew the piece that matches the side of the pot. We left without sewing the top side.
  Now put the other two tabs, and also sew first left inside and then left in the bank.
 Now sew the sides of the pot. The top side is not necessary to sew it secured with the edge.
 We put it in place, and sew all around.
 Now is the time to place the leaves and sew.
 Then it's the turn of the smaller circles, and finally the little buttons of the pot.
  hope you find it easy to do. I've really enjoyed doing it, because I love the country touch. So ... Courage!, And if you atrancáis with something ... just write me. Happy
 Baltimore!
0 comments:
Post a Comment